先登入 LINE Developers 網站:
https://developers.line.biz/zh-hant/
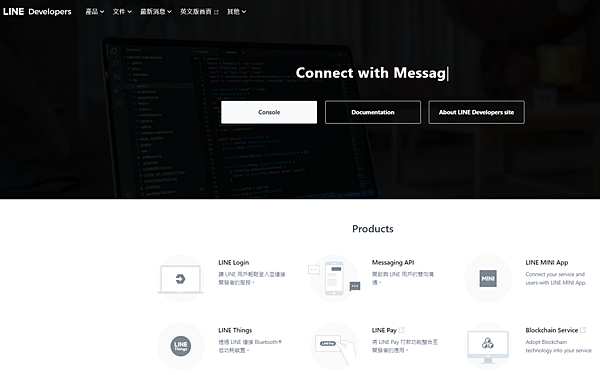
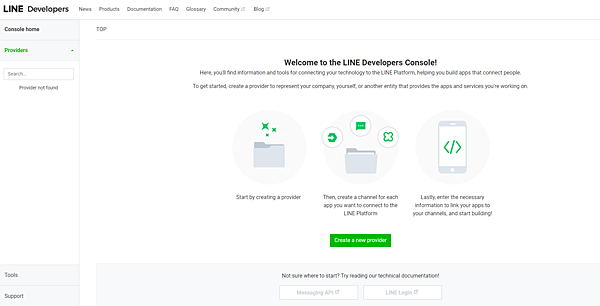
進入之後選擇 "Provider",
並建立一個新的 provider
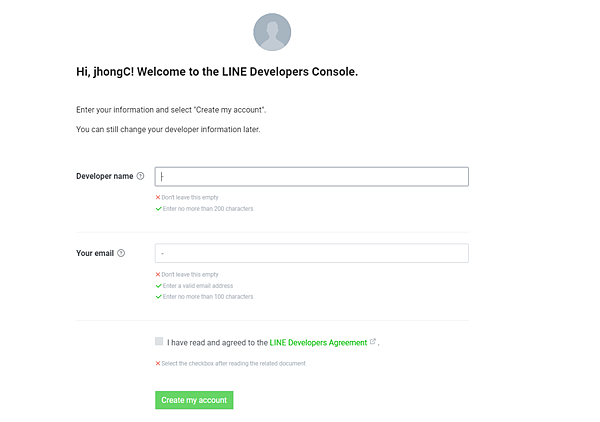
在 provider 裡面建立一個新的 "Channel
這邊選 Create a Messaging API channel:
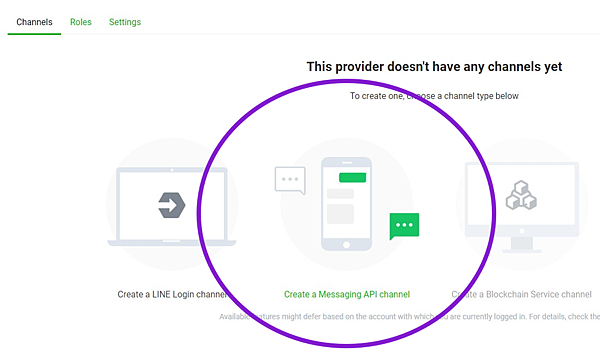
填完名稱、照片等基本訊息後送出:
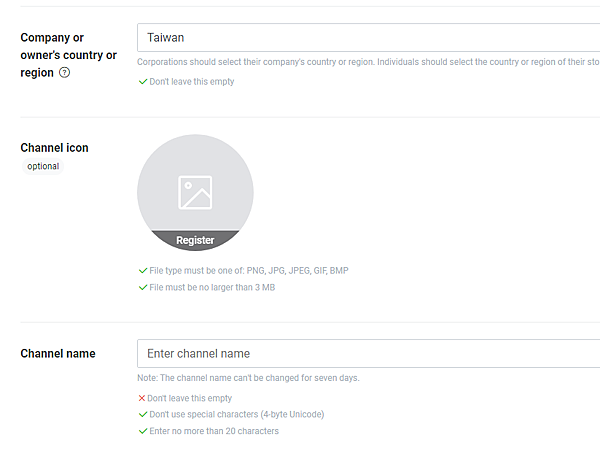
建立好後,
會有一個 "Channel secret" (Basic settings 頁籤下 )
跟 "Channel access token" ( Messaging API settings 頁籤下 )
按下issue後會長出來:
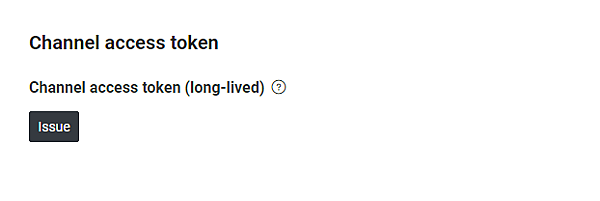
這兩個之後寫程式會需要,請記錄下來
架一個處理訊息的伺服器網站
例如回覆訊息、推送訊息
選擇你擅長的程式語言,例如 Python、Node.js 等任君挑選,
撰寫伺服器程式(我選Python)
配合 Flask
一個用Python語言撰寫的輕量級網頁框架
先裝個line套件:
pip install flask line-bot-sdk
相關報錯:
invalid command

先把python 安裝路徑下的script加進環境變數 得治

ModuleNotFoundError: No module named
$PYTHONPATH 是一個環境變量,
用於指定 Python 解釋器在搜索模塊時應該查找的目錄列表。
在 Python 中導入模塊時,
解釋器會按照一定的順序在不同的目錄中搜索模塊文件。
這個搜索路徑包括內置模塊、標準庫模塊以及自定義的模塊。
查看當前的 PYTHONPATH,可以使用 Python 的 sys 模塊 :
import sys

print(sys.path)
or

path包含解釋器當前使用的模塊搜索路徑。
搜索路徑按照解釋器在導入模塊時查找的順序排列。
*sys.path 列表的第一個元素是空字符串 ''代表當前目錄
其後的元素表示其他的模塊搜索路徑
site-packages 是一個資料夾,
放安裝的 python package,可能到處都有
pip -V 可以直接看到現在module被安裝到哪裡

看資訊理的location:
並沒有在上面sys.path列表裡面
這就是module not found的原因

重裝package 並把target指定到有在sys.path裡的site-package
pip install package_name --target=/path/to/site-packages
基礎測試code:
from flask import Flask, request, abort
from linebot import (
LineBotApi, WebhookHandler
)
from linebot.exceptions import (
InvalidSignatureError
)
from linebot.models import (
MessageEvent, TextMessage, TextSendMessage,
)
app = Flask(__name__)
line_bot_api = LineBotApi('YOUR_CHANNEL_ACCESS_TOKEN')
handler = WebhookHandler('YOUR_CHANNEL_SECRET')
@app.route("/callback", methods=['POST'])
def callback():
# get X-Line-Signature header value
signature = request.headers['X-Line-Signature']
# get request body as text
body = request.get_data(as_text=True)
try:
handler.handle(body, signature)
except InvalidSignatureError:
abort(400)
return 'OK'
@handler.add(MessageEvent, message=TextMessage)
def handle_message(event):
line_bot_api.reply_message(
event.reply_token,
TextSendMessage(text=event.message.text))
if __name__ == "__main__":
app.run(port=12345)
這塊換成上面申請時取得的資料:

WSGI(Web Server Gateway Interface)
是Python網路框架和Web伺服器之間的通訊協定。
其主要任務是確定如何將HTTP請求
分發給Python的Web框架並將框架的回應傳回Web伺服器
本來wsgi 要使用 gunicorn

但羅生門 網上很多分享這樣配置在windows上
但gunicorn官網明明說不支援windows
果斷棄坑 改用TORNADO

整體配置:
nginx web服務器,tornado充當wsgi,
tornado負責監聽5000端口,轉發flask應用
pip install tornado

server.py
server.py為使用tornado搭建的“容器”,
# coding=utf-8
from tornado.httpserver import HTTPServer
from tornado.wsgi import WSGIContainer
from src.app import app
from tornado.ioloop import IOLoop
s = HTTPServer(WSGIContainer(app))
s.listen(5000) # 监听5000 端口
IOLoop.current().start()
若server.py與app.py在同一目錄下,則將app引入行修改為from app import app
啟動:
![]()
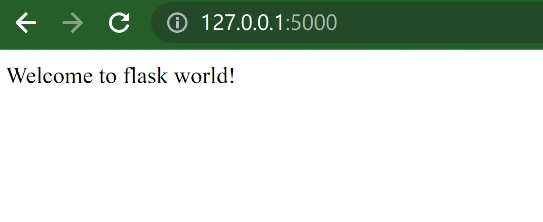
*確保你的伺服器能接收 HTTPS 請求,
因為 LINE Messaging API 必須透過 HTTPS 連線才能訪問 Webhook URL
自發https憑證可以參考這篇:
https://monkeyjhong.pixnet.net/blog/post/340817331
我是隨手拿了個手邊的domain
去godday掛個子域名當我的line bot server
如果你也打算這樣掛那建議先去godaddy點一點
因為生效需要時間(1~48小時)
nginx config配置:
server {
listen 80;
server_name {{ your.domain }};
location / {
return 301 https://$host$request_uri;
}
}
server {
listen 443 ssl;
server_name {{ your.domain }};
# 憑證與金鑰的路徑
ssl_certificate {{ your fullchain.pem }};
ssl_certificate_key {{ your privkey.pem }};
location / {
proxy_pass http://localhost:5000;
proxy_set_header Host $host;
proxy_set_header X-Real-IP $remote_addr;
proxy_set_header X-Forwarded-For $proxy_add_x_forwarded_for;
}
}
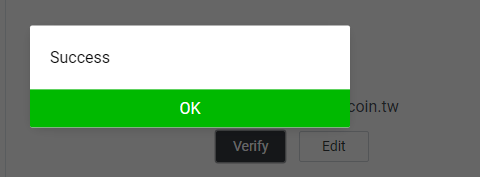
接著Messaging API 頁籤下
可以找到WEBHOOK URL設定
把你的line bot server 網址設定上去
Webhook是一種讓伺服器能主動發送資訊的機制。
即使客戶端沒有發出請求,
伺服器也可以推播訊息給客戶端。
這使得客戶端與伺服器能進行雙向溝通。


遇到405報錯的話
"405 Method Not Allowed" message : "error.webhook_invalid_http_status"
加下對應的METHODS POST
沒有的話這邊預設支援GET 但LINE驗證送的是POST

debug錯誤訊息print沒有出來
這邊塞個app.debug = True

再重啟TORNADO就可以了
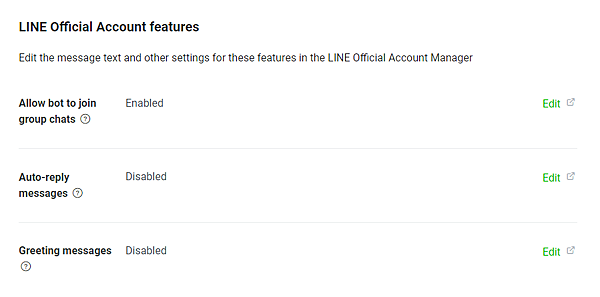
下面這塊配置成自己需要的參數:
允許加入群組、自動回覆訊息...
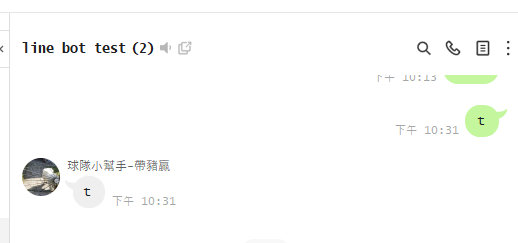
一切就緒 上面基礎測試會回一樣的訊息
代表打通任督二脈
可以開始擴充實作自己想要的功能
之後再做一期跟大家分享


 留言列表
留言列表

